Monday, July 30, 2018

RECIPE: Pickled Chard Stems

Chard stems (leaves removed)
½ cup water
1 cup vinegar (any kind will do, I like a combo of white wine and apple cider)
3 tablespoons salt
2 tablespoons sugar
2 smashed garlic cloves
1-3 teaspoons seasoning of your choice (what flavor do you want? Red pepper flakes create a spicier pickle, rosemary, thyme, and caraway seeds, mustard seeds are also good here, but you can be as creative as you want!)

Blanch the chard stems in a pot of boiling water for about 1 minutes.  Drain the stems and place them in ice water to stop them from cooking any more!

Add all ingredients to a small pan and bring to a boil (you want the sugar to dissolve!).

Pack the chard stems tightly in a jar, Tupperware, or whatever container you have that has a tightly fitting lid.  Let your liquid cool for about a minute and then pour over the packed stems. Let the stems brine for a few hours in the fridge before eating.  They will keep for a week or two!

Wednesday, July 25, 2018

RECIPE: Kohlrabi Slaw

Ingredients:

  • - Apple, cut into matchsticks
    - Olive oil
    - Fresh lemon juice
    - Salt and pepper

Wednesday, July 18, 2018

TIPS: Sage

Preservation:
Note from Megan: I have been using http://www.preservingyourharvest.com for years to save specific food that I can only get rarely.  Here's what they say (in my own words) about preserving sage.

How to air-dry sage:

Poke a few holes in a paper bag.   Place the sage into the bag so the stems are sticking out of the opening.  Close the opening and the stems together with a rubber band and hang stems-side up anywhere in your house.

How to oven-dry sage:

Put oven on lowest temperature.  Place washed and dried sage leaves on a baking sheet and place in oven for 2-4 hours, or until they crumble in your hands.  Store in an airtight container after they are completely cool.

How to freeze sage:

Chop up cleaned and dried leaves as small as you can.  Put 1 teaspoon into each icecube section of your icecube tray.  Top off with a little water and freeze.  Use in sauces or allow to melt and use only the leaves later.

Other tips:  Always use sage cooked, and add to the end of the cooking process. If roasting a chicken, add sage and lemon inside the cavity.  Sautee or steam carrots, then add a little butter and sage and cook until golden.

RECIPE: Delicious Weeknight Brown Butter Sage Pasta

Optionally:
- Add 1 cup of Parmesan cheese at the end of cooking
- 1 chopped onion and/or 3-4 smashed/chopped cloves of garlic can be cooked with the butter in the first step

Ingredients:
- One bunch sage - 20-30 leaves, washed and stemmed
- 4 Tablespoons butter
- 1 pound pasta

Cook pasta according to package directions BUT: drain the pasta 2 minutes before it’s done and reserve one cup of cooking water before draining.

Meanwhile, in a large saucepan on medium-high heat, melt the butter.  (If adding onion and garlic, do so now and cook them down before adding the sage.)

When the butter is done frothing, add the sage and cook until butter is light brown and the sage is wilted.  Add the cooked pasta and 3/4 of the reserved pasta water. Cook for a few minutes until the pasta is done. (Add Parmesan cheese now, if using.)  Add the rest of the water if necessary.

Season with salt and pepper and eat while hot.

RECIPE: Stuffed Collards

Note: We made this recipe -recently and it was delicious - we used turkey sausage. You could easily use a non-meat filling with the rice as well. They are like stuffed peppers but the collard greens stay beautifully and they are easy to work with once blanched. The only problem is that the recipe takes an hour to cook - which can be painful during this summer heat when people in NYC try not to turn on their ovens (as least that is what happens in our house. We made enough to put some in the freezer as well. 

Makes: 16

16           collard leaves or halves, a little bigger than hand size
1 1/2 cups cooked white rice
1/2         pound ground pork
1/2         cup diced onion
1/2         cup diced celery
1/2         cup diced green bell pepper
2              teaspoons of your favorite creole seasoning
1              egg, lightly beaten
1/4         cup chicken broth

Blanch the collard leaves in boiling water for about one minute. Rinse, cool and pat dry. Brown the ground pork in a saute pan, breaking it up with a wooden spoon as you go until it loses its pink color. Add the onion, celery, bell pepper and creole seasoning to the pork and continue to saute until the vegetables soften a bit. Cool the mixture to room temperature. Once the mixture has cooled, stir in the cooked rice and beaten egg. Place about 2 (coffee) teaspoons of the mixture just above the base of the collard leaf. Roll up the bottom, tuck in the sides and roll the rest of the way. Repeat for the remaining leaves and place in a shallow baking dish. If you have extra filling, just sprinkle it over the top of the rolls. Pour the quarter cup of broth over the casserole, cover tightly and bake at 350F for about 1 hour. Serve warm or at room temperature.


Stuffed Collards

Tuesday, July 17, 2018

RECIPE: Eggplant Caponata

From https://www.bonappetit.com/recipe/caponata This is a delicious and complex dish, sure to impress! Ingredients 1-2 small eggplant, cut into 1-inch pieces\ 4 Tablespoons olive oil (2T / 2T, see below) 1 large onion, chopped 1 celery stalk, chopped ¼ cup chopped green olives 2 teaspoons capers 1 large tomato, chopped 2 tablespoons red wine vinegar ½ teaspoon sugar Recipe Preheat oven to 400.  Coat eggplant with 2T olive oil, salt and pepper, and spread evenly on a baking sheet.  Roast, stirring at least once to prevent burning, in oven until brown, up to 30 minutes. Meanwhile on the stovetop, heat a large pan over medium-high heat.  Add 2T olive oil, and when oil is hot, add the onions, celery, olives and capers, salt and pepper, and cook slowly for 15 minutes.  Add ½ cup water, the sugar, and the vinegar and bring to boil then reduce to simmer until half of the liquid is gone, about 5 minutes.   Add the eggplant to the onion mixture and stir well.


RECIPE: Pasta with eggplant, sundried tomato, and goat cheese

A fun summer pasta dish that comes together quickly for a weeknight dinner!

1 eggplant
1 jar sundried tomato packed in oil
Goat cheese
1 box pasta (rigatoni is my favorite shape here)

Preheat your oven to 350 degrees.

Cut eggplant into 1-inch thick rounds and sprinkle with salt.  Let sit for 15 or so minutes… after 15 minutes, the eggplants will have sweat out some liquid.  Dry the liquid off and cut the rounds into small cubes. Place the cubes on a baking sheet and give a little spray of olive oil (if you have Pam or an expeller) or drizzle of olive oil.  Bake until golden brown, or about 20-30 minutes.

While the eggplant is baking, put the jar of sundried tomatoes, including the oil, in the food processor and pulse into a paste, adding additional olive oil if needed (I don’t usually need to add too much).

Bring a pot of well-salted water to a boil and cook pasta until al dente (2-3 minutes less than the package calls for).  Reserve pasta water!

Heat up your sundried tomato paste in a skillet, and add pasta and about ¼ to ½ cup of pasta water (to start). The pasta will finish cooking in the sauce!

Add the eggplant to the pasta and the sauce.  Finish in the bowl with dollops of goat cheese (you can also mix this in for a creamier sauce).

Wednesday, July 11, 2018

RECIPE: Garlic Chives Scrambled Eggs

Ingredients:
- After washing well, cut 1 bunch garlic chives into 1” lengths.
- 4 Eggs
- Either 1 teaspoon soy sauce, or salt and pepper to taste

Scramble the eggs in a bowl and add either the soy sauce or salt + pepper.

Heat a pan on high heat.  Add 1-2T oil to the pan, allow the oil to get hot and coat the entire bottom of the pan, and then add the chives.  Coat in the hot oil and quickly fry before adding the eggs and turning down the heat. Cook the eggs until they’re just the way you like them.  Eat while warm and enjoy!

TIP: Garlic Chives

Basics:
  • Cut off the ends and wash well.
  • Try to use within a few days.
  • Use in place of chives in your favorite recipe.
  • Add at the end of cooking or flavor will fade.

RECIPE: Easy Baked Zucchini and Eggplant

Ingredients:
- 1 pound Eggplant, cubed
- ½ pound Zucchini, cubed
- Olive Oil, salt and pepper

Optionally, add any or all of the below:
- ½ pound fresh tomatoes
- 1-2 cloves garlic, chopped or smashed
- 4 Tablespoons grated Parmesan cheese
- 4 Tablespoons fresh basil, chopped
- 4 Tablespoons fresh parsley, chopped

Heat oven to 350.  Cut eggplant and zucchini into 1” cubes.  (If using fresh tomatoes, cube them as well).  

Place in a large bowl, lightly cover in olive oil, salt and pepper and mix well.  (Add any of the other optional ingredients at this time. Taste a piece of zucchini to check seasoning and adjust as necessary.)

Put the veggie mix into a casserole dish and place into preheated oven.  After 20 minutes check the tenderness of the veggies, and if you want to cook longer, cover with tin foil.

Tuesday, July 10, 2018

RECIPE: Zucchini, Snap Pea, and Onion Salad with Pesto

I’m always looking for a filling salad, that I can eat for dinner and not be hungry after!  This is a refreshing early summer meal that is easy to put together and that can be prepared ahead of time for a quick weeknight meal.

Zucchini, thinly sliced (either with a mandolin or a knife)
1 lemon
2 handfuls sugar snap peas, 1 onion, or any other veggies of your choice (roasted, quartered radishes would be great here, as would thinly sliced radishes)
Head or bunch of greens of your choice (lettuce, spinach, kale, or a mix are all great here)
2-3 tablespoons pesto (recipe below)

Season both sides of each slice of zucchini well with olive oil, salt, and pepper (I used a spray olive oil here, such as Pam, for a more even application).  Using a grill pan (if you have one) or large skillet, “grill” zucchini slices in a single layer (you can probably also roast the slices for a more hands off approach).. I personally like using the grill pan because I like the look of the grill marks.  Once you see these grill marks, flip the slices over and repeat on the other side. Transfer the cooked zucchini to a plate or cutting board and lightly squeeze lemon juice over it.

Slice the sugar snap peas in half long ways.  Roast the whole onion in the oven, tossed in olive oil, at 350 for about 35-40 minutes.  When the onion is cool enough to touch, peel and toss the outer layer (it will be harder), and cut into bite size pieces (I find that with a large onion, this is normally in 8-10 pieces).

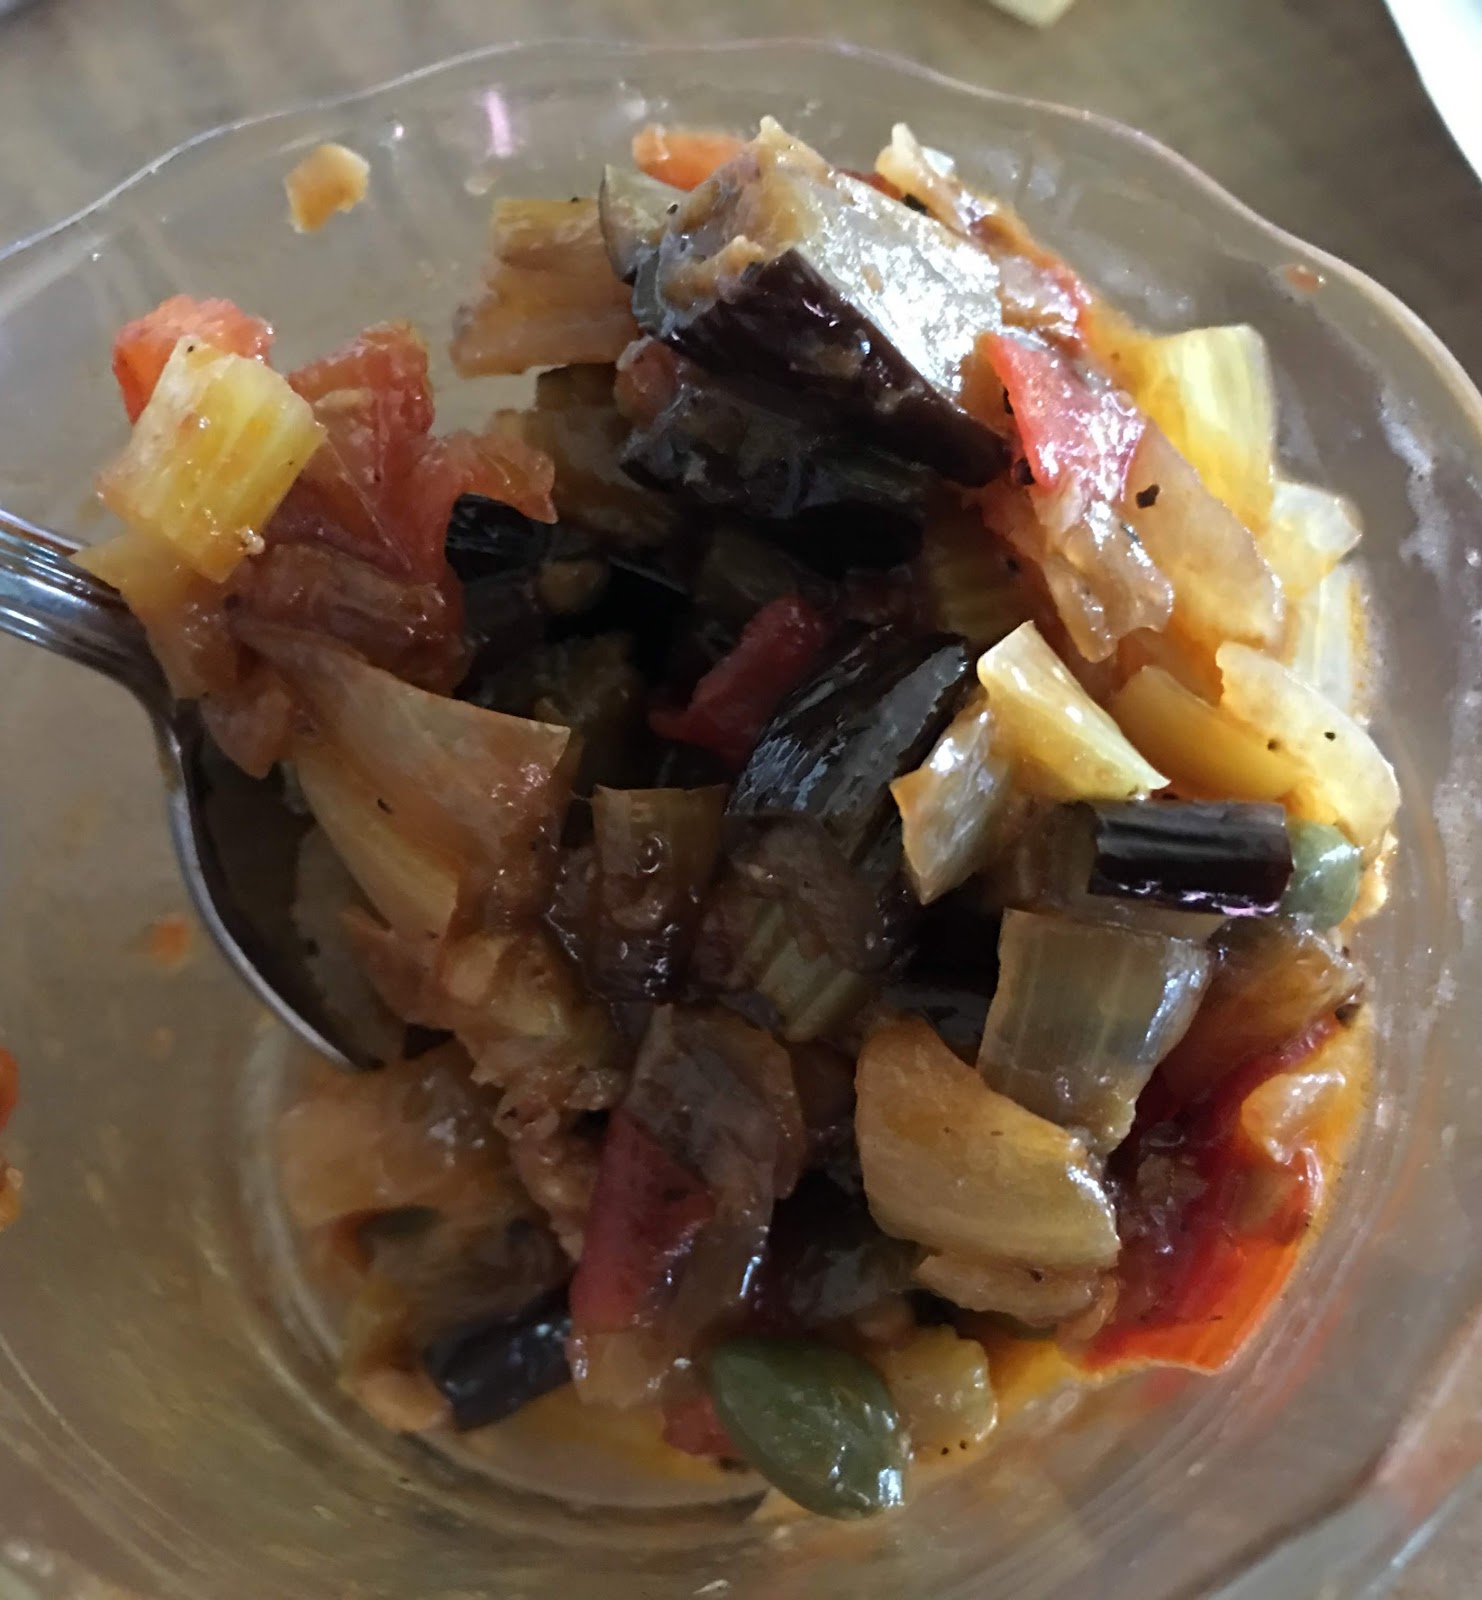
Toss your zucchini slices, roasted onion pieces, and sliced snap peas in a bowl with your greens and pesto.

Pesto
2 ounces basil
2 tablespoons toasted nuts (I like cashews here)
2-3 garlic scapes or 1-2 garlic cloves
4-5 tablespoons olive oil
1-2 tablespoons white wine vinegar

Combine your basil, toasted nuts, and garlic scapes/garlic cloves in the food processor.  While on low, pour in olive oil and white wine vinegar, tasting with each added tablespoon. Let the food processor run until your pesto is at your desired consistency.

Monday, July 9, 2018

TIP: 12 Tips to Cooking Faster

Spend less time in the kitchen and more time enjoying your summer...
12 Tips to Cooking Faster

1. A Good, Sharp Knife...that you know how to use. Being able to chop up the loads of produce we get each week from the CSA in 10 minutes vs 60 minutes goes a long way towards saving you time in the kitchen. If you know you need to work on your skills, here’s a youtube video to give you a leg up: Here
2. Cut Food Into Smaller Pieces. Use those knife skills you just learned in suggestion number 1 and make sure you cut food small enough. Stir-frying is one of the best quick-cooking techniques because the proteins and vegetables are cut down into small pieces, so remember that the smaller the pieces, the quicker the cooking.
3. Load A Pan With Ingredients From The Pantry Or Fridge. This tip comes from watching television cooking competitions like Iron Chef or Top Chef. Contestants grab big, shallow pans, run to the pantry or refrigerator, and load up with as much as they can at one time so they're not constantly going back and forth. While a home kitchen is not a big TV kitchen studio, you can definitely make this concept work for you. Take a rimmed baking sheet or big bowl to the refrigerator and load it up so you only make one trip. You'll also know if you're missing or don't have enough of an ingredient right off the bat instead of halfway through cooking.
4. Get The Water Boiling Immediately. Get that pot of water for boiling or steaming onto the stove ASAP so you can prep while it's heating up. Heck, don't even take your coat off or open the mail before getting that pot going. Don't forget to put a lid on it; lids are your friends! Water will boil faster and covered food cooks faster, too. If you have an electric kettle, those can also be handy for getting water heated up fast.
5. Set Up Appliances And Heat The Oven. There's a reason why oven recipes always start with having you heat the oven! Get the oven on before you even pull food out or use your oven's delay start setting so it's already turned on when you walk in the kitchen. Using convection to heat the oven will also speed things up, and you can always switch it back to regular bake once it's heated. Also pull out any cookware or appliances you'll need so you're not scrambling in the middle of the recipe. You can also throw ingredients right into, say, the stand mixer or food processor as you measure and prep if it's already out. 6. Take One Minute To Mentally Walk Through What You're Cooking. Before you start cooking, taking just one minute to think through what you're about to do makes all the difference in the world. If you're making multiple dishes, you can pick out what takes the longest to cook and the exact order to prep and cook things, seeing where there are opportunities to prep things while something else is cooking. It's a lot more efficient to have a mental game plan so you don't hit any bumps, like forgetting to get water boiling. 7. Pan Cooked Pasta. Why have a huge stew pot full of a billion gallons of water that takes ten years to boil and the pasta still sticks out the top of when you could just use a pan wide enough to fit the length of the noodles? 8. Microwave Prep Veggies. This is actually from America's Test Kitchen on the episode about making homefries. After dicing potatoes, popping them in the microwave for about 3 minutes before finishing them by browning them in a frying pan (with onions and peppers) not only speeds up the process but results in less dried out homefries. They are perfectly fluffy on the inside and crisp on the outside. You can do the same with squash, pumpkin, and carrots too! 9. Use A Garbage Bowl. If your trash can or compost bin isn't located directly next to your prep area, try using a garbage bowl instead. A garbage bowl is a large bowl or container that you put right on your prep area to toss unwanted things into as you prep. This means you don't have to make multiple trips to the trash can or compost bin, and it also minimizes the chance of food scraps ending up on the kitchen floor since you're not walking around constantly. 10. Grate Your Butter So You Don't Have To Wait For It To Soften. Baking recipes often call for softened butter, but sometimes you don't have the time to wait for it to come to room temperature. A quick trick is to grate cold or preferably frozen butter on a box grater into nice flaky shreds; grated butter will soften in the same amount of time it takes to heat the oven! 11. Figure Out Your Prepping Order And Multitask. Well-written recipes list ingredients in the order they're used and are usually a great guide for the order your should prep things. While those just learning to cook should prep everything beforehand so they can fully focus on cooking, more experienced cooks can multitask. For example, onions take time to caramelize or brown, so chop your onions and get those cooking first before you measure and chop the other ingredients.
12. Clean Your Produce Efficiently. Trim your produce first if you can, like taking tops off root vegetables or cutting up the lettuce, then wash it after. This means there's less to wash, and you can then wash what you need in one go. Combining things in a colander for rinsing can also reduce water usage.

TIP: Quick Tips for Freezing Fruits and Vegetables

Throwing out too much produce? Freeze it for later!
Quick Tips for Freezing Fruits and Vegetables
  • Freeze fruits and veggies when they’re at their peak of freshness.
  • Blanch vegetables first, then submerge in ice water. Dry thoroughly.
  • Freeze fruits and vegetables quickly.
  • Store in heavy-weight, air-tight containers or freezer bags. Be sure to date the packages.
  • Fill containers to the top and remove as much air as possible from freezer bags.
  • Vegetables that hold up well to cooking (corn, peas) generally freeze well, too.
  • For better texture, try eating previously frozen fruit before it’s completely thawed.
  • Fruits and veggies freeze best at 0-degrees F or colder.
  • Store frozen fruits for about a year; vegetables, about 18 months. (Storing longer is fine, but the quality may decline.)

    Want to know more, go here!

Monday, July 2, 2018

RECIPE: Hearty Greens with Tomatoes and Curry

Ingredients:
At least two big bunches of hearty greens, shredded like slaw
2-4 Tablespoons butter or coconut oil, or other oil of your choice
1 onion, diced
Big can of tomatoes, diced, or however you like
2 Tablespoons Curry

If you don’t have pre-made, you can make your own using cumin, coriander, tumeric, mustard seeds and maybe even a sprinkle of cinnamon.  Be bold! Curry is an art, not a science.

Heat the butter in a pan on medium-high heat.  When it’s foaming, add the diced onion. Sprinkle with salt and stir often till the onions are sweated and turning slightly brown.


Add the hearty greens and the curry.  Cook till fragrant, about two minutes.


Add the can of tomatoes and bring to boil.


Reduce heat to low and cook, covered, for 30 minutes.  (In an Instant Pot, cook on high pressure for 7 minutes.)


Serve with meat and/or over rice, or eat in a bowl while it’s still warm.  Delicious!

RECIPE: Last-Minute Cooked Hearty Greens with Butter and Lemon

Ingredients:
1 bunch Kale, Collard Greens, Swiss Chard, or any other hearty green
2-4 Tbsp butter, or fat of your choice
Juice of 1 or 2 lemons

To prepare the greens:
Remove the spine from each leaf;
Cut into thin strips;
If using the spines, chop them into small pieces and cook them first before adding the leaves as they take longer to cook.

Heat the butter in a large pan or pot over medium-high heat.  

Once the butter has melted and the pan is hot, add the greens.  

Cook the greens, stirring, for a few minutes to coat in fat and start them wilting.  Then add 2 Tablespoons of water and put a lid on the pan so the greens steam and cook down.  Cook at a lower heat for 5-10 minutes, stirring and checking on it once or twice. You decide if you want chewier kale (shorter cooking time), or falling-apart, tender kale (longer time at a much lower temperature, probably adding more water as it cooks).

When the kale is cooked to your desired tenderness, remove from pan leaving juices behind.  Coat in lemon juice and taste. Add salt and pepper if desired.

RECIPE: Kale Chips

Preheat oven to 350.

Two recipe notes:
- The leaves shrink in the oven, so cut the kale larger than you want the resulting chips.
- Because they shrink, flavoring goes a long way.  I always over-salt the first time I make each season even though I know this!

Remove spines from the kale and cut leaves in half or quarters.  

Transfer kale to a baking tray and coat the leaves with a small amount of olive oil and salt; mix well.

Place into a 350 oven and don’t walk away, these go quickly.  Stir them after five minutes in the oven and see how much they’ve cooked.  They may need up to 10 - 15 minutes depending on their size, the amount of olive oil, etc, but keep a close eye as they cook.

Enjoy!

RECIPE: Fast and Easy! Fresh Lemon, Olive Oil and Kale Salad

Ingredients:
Shredded kale, cut once lengthwise and then into thin strips like a slaw
Kosher Salt
Olive Oil, the best you have
1-2 Lemons

Transfer the kale strips to a bowl and sprinkle a pinch or two of kosher salt.  Using your hands, massage, twist, and beat the kale and salt together till the kale starts to sweat and wilt.  This step makes the kale easier to eat and brings out a nicer flavor for the dish.

Pour a thin coat of olive oil and the juice of one lemon and mix thoroughly.  

Taste, and add more olive oil or lemon juice.  

VARIATIONS:

Garlic: add gently cooked or raw garlic to the salad according to your taste.

RECIPE: Pasta with Spring Pea Pesto

You might look at peas (or the big shelling peas!) and think of frozen food dinners from your childhood, but they’re actually sweet and delicious to eat (and therapeutic to shell).

1-1.5 cups peas (from approximately 1-1.5 lbs shelling pea pods)
2 garlic cloves, diced
2 tablespoons nut of your choice (I used pine nuts here, but cashews would also be great and bring an extra sweetness to the sauce), toasted and cooled
½ cup grated Parmesan or pecorino cheese
¼ teaspoon kosher salt
Approx. ⅓ cup olive oil
Juice from 1 lemon
1 box pasta of your choice
Sliced fresh herbs (basil, mint, parsley, oregano would all be good here)- optional

Prepare a small bowl with ice water.  Bring a small pot of salted water to a boil. Drop peas in boiling water for about 2 minutes.  Drain peas and add to your ice bath.. drain your peas again.

In a food processor, combine ⅔ of your peas with the garlic, toasted nuts, ⅓ cup cheese, and salt and pulse until smooth.  With the food processor running, add in the olive oil and lemon juice.

Bring a large pot of water to a boil. Add salt, then add some more.  The key to delicious pasta is salty water!! Your boiling water should taste like the ocean!

Cook your pasta until al dente (about 2-3 minutes less than the package calls for.. trust me, it’s worth it here!).  Save about a cup of pasta water before draining your pasta. Do not rinse the drained pasta!!

In a skillet, heat ¾-1 cup of your pea pesto.  Once warm, add some pasta water, your drained pasta, and your reserved peas.  The pasta will continue cooking here. Toss or stir to coat the pasta, adding more pesto and pasta water as needed.

Top with sliced fresh herbs and remaining cheese!

RECIPE: Collard green wraps with cabbage slaw

Here’s a fun and low carb recipe that’s both easy to make and refreshing to eat on a hot summer day!

Collard green wraps
1 brunch collard greens

Cut the long part of the stem off of the collard green leaf and trim the thick middle stem of the collard green so that the stem feels flat.  Try not to tear the leaf here, but don’t worry if you do!

Bring a pot or tall skillet full of water to a boil.  One at a time, place the trimmed collard green leaf in the boiling water (it should be submerged) and let it sit for about 20-30 seconds. You’ll know it’s done when it’s bright green in color and a little bit wilted.  Let the collard green leafs dry on paper towels before using as wraps!

Cabbage slaw
1 head cabbage
1 bunch scallions (optional), chopped
1 tablespoon chopped fresh herbs (your choice!)
1.5 teaspoon vinegar (I like apple cider and rice vinegar here, but any will work)
1 teaspoon olive oil or sesame oil
1 teaspoon salt
½ teaspoon pepper

Cut the cabbage in half, and place the cabbage cut-side down on the cutting board.  Thinly slice the cabbage so that you have “shreds.”

Combine and toss cabbage and the remaining ingredients.  Let marinate in the fridge while you prepare the rest of your meal!

To create the wraps:
Lay one of your collard green leafs flat on the counter or your plate.

Use protein filling of your choice (I used sliced steak) and place a few pieces on the middle of the collard green. Top with a few spoonfuls of your slaw and any other toppings of choice (grilled onions and hot sauce are great here too).

Fold in the two long sides of your collard green (the top and bottom of your leaf- where you trimmed off the stem). Starting on one end of the leaf that is not folded in, roll the leaf in to create a “burrito” or wrap that encases your fillings!

Eat and enjoy!

RECIPE: Kale and Orzo Pilaf

This is a great little dish to make with any sturdy green, think collards, kale, chard or even spinach or romaine.

It is a great side to anything and you can always add other vegetables as well. Think asparagus, peas, mushrooms or anything you would like to saute and can keep its shape. Use it as a side, or add leftover roast chicken, roast pork or even salmon and have it for lunch the next day. It is equally good at room temperature.

Ingredients:

- Bunch of kale, or other leafy greens
- ¼ cup orzo, I recommend Rummo as the brand which is very tasty
- 1 tbs olive oil or butter
- 2 tsp “better than bullion” chicken stock, or 1-2 bullion cubes. (you can also use normal chicken stock about 2-3 cups.  OPTIONAL: (1 tsp “better than bouillon” mushroom stock)
- Any other vegetables you would like to add
- 1 tsp garlic powder
- Salt and pepper to taste
- ½ lemon (optional)

Equipment needed
- A deep non-stick skillet such as a cast iron or normal non-stick
Start by chopping the greens in i inch thick pieces. Add the greens to the pan and add 1-2 cups water or stock, if using cubes use ¾ of what you are going to use. Put the heat to medium high. Add garlic powder, some salt and pepper

Cook until greens uncovered for about 15-20 minutes.  There should still be some stock in the pan. Add another 1.5  cups stock and add the orzo.

Put the heat to medium low and cook until the orzo is cooked, add more stock or water if needed (i.e. the orzo is not cooked and there is no more water).

Add whatever other vegetables you want to add at the end.