Showing posts with label swiss chard. Show all posts

Tuesday, August 14, 2018

RECIPE: Dolmades with Swiss Chard

A tip on Swiss Chard from one of our members...

I used the chard instead of grape leaves to make fabulous Dolmades.  First, blanch them, then cut out the center rib. Cut the bigger leaves in half, then filled with the meat mixture.

I substituted ground turkey for lamb.  Also, I added finely chopped parsley and mint, minced shallot, crushed garlic, wheat bran, uncooked rice, salt and pepper.  Layered into pot, filled with chicken stock and simmered for about 30 mins.  Delish!!

TIPS: Swiss Chard

Raw or cooked, this green can add load of flavor and nutrition to many meals!

Prepare it
The leaves and the stalks should be cooked separately. Wash, then cut off the stalks from the leaves and leave whole or chop, as required. On some older leaves you may need to cut the ribs out of the leaves, too. Store it In a perforated bag in the fridge for up to four days. Use it Use anywhere you would use spinach or other wilting vegetables. Easy recipes to add it to include sautéed dishes, stews, and stir frys. Add to pasta dishes at the last five minutes of cooking or over polenta after sauntering swiss chard with some mushrooms, garlic and olive oil. Swiss Chard with Lemon 1-2 tbsp olive oil Swiss Chard 1-2 cloves garlic, finely chopped ½ lemon Parmesan to serve
Heat olive oil over medium heat. While oil is heating chop the garlic and then chop the Chard into 2-3 inch pieces.

Add garlic to the skillet and cook until soft (1-3 minutes). Add Chard and 1-2 tablespoons of water. Cook until wilted. Stir in Lemon Juice and season with pepper. Add parmesan to serve.

Monday, July 30, 2018

RECIPE: Pickled Chard Stems

Chard stems (leaves removed)
½ cup water
1 cup vinegar (any kind will do, I like a combo of white wine and apple cider)
3 tablespoons salt
2 tablespoons sugar
2 smashed garlic cloves
1-3 teaspoons seasoning of your choice (what flavor do you want? Red pepper flakes create a spicier pickle, rosemary, thyme, and caraway seeds, mustard seeds are also good here, but you can be as creative as you want!)

Blanch the chard stems in a pot of boiling water for about 1 minutes.  Drain the stems and place them in ice water to stop them from cooking any more!

Add all ingredients to a small pan and bring to a boil (you want the sugar to dissolve!).

Pack the chard stems tightly in a jar, Tupperware, or whatever container you have that has a tightly fitting lid.  Let your liquid cool for about a minute and then pour over the packed stems. Let the stems brine for a few hours in the fridge before eating.  They will keep for a week or two!

Monday, July 2, 2018

RECIPE: Hearty Greens with Tomatoes and Curry

Ingredients:
At least two big bunches of hearty greens, shredded like slaw
2-4 Tablespoons butter or coconut oil, or other oil of your choice
1 onion, diced
Big can of tomatoes, diced, or however you like
2 Tablespoons Curry

If you don’t have pre-made, you can make your own using cumin, coriander, tumeric, mustard seeds and maybe even a sprinkle of cinnamon.  Be bold! Curry is an art, not a science.

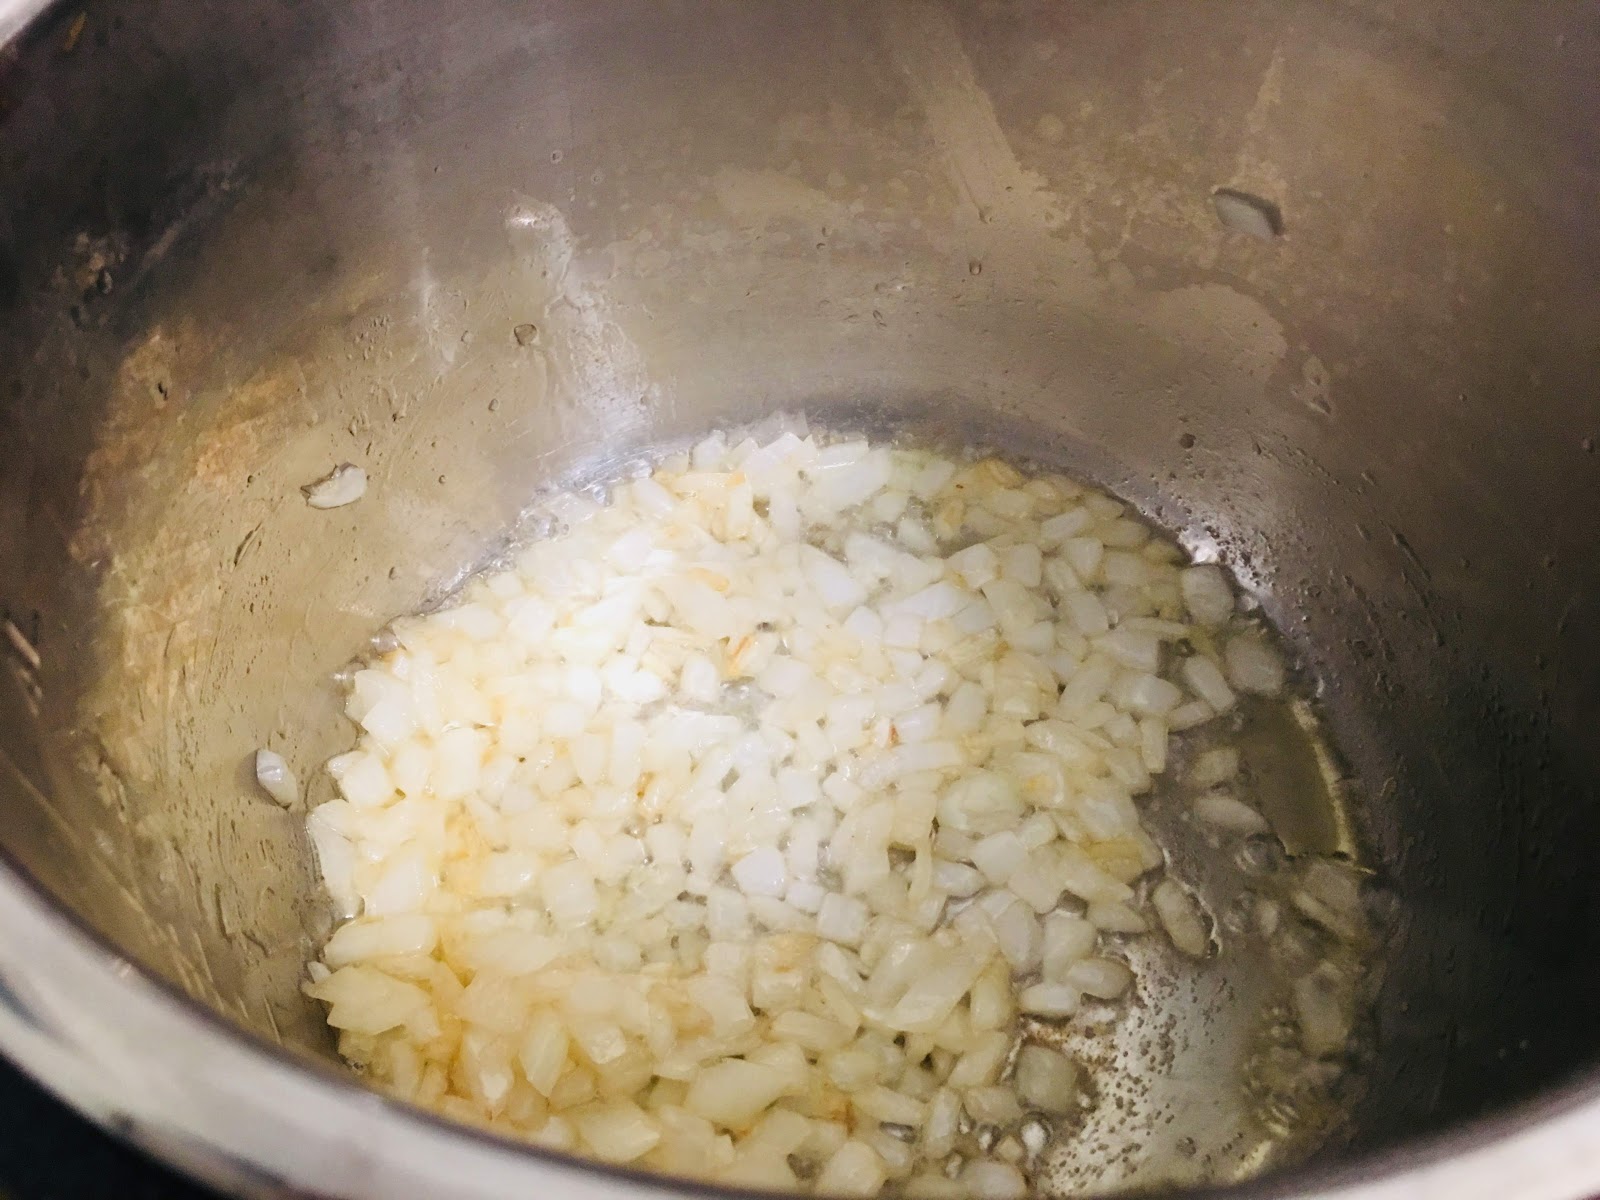
Heat the butter in a pan on medium-high heat.  When it’s foaming, add the diced onion. Sprinkle with salt and stir often till the onions are sweated and turning slightly brown.


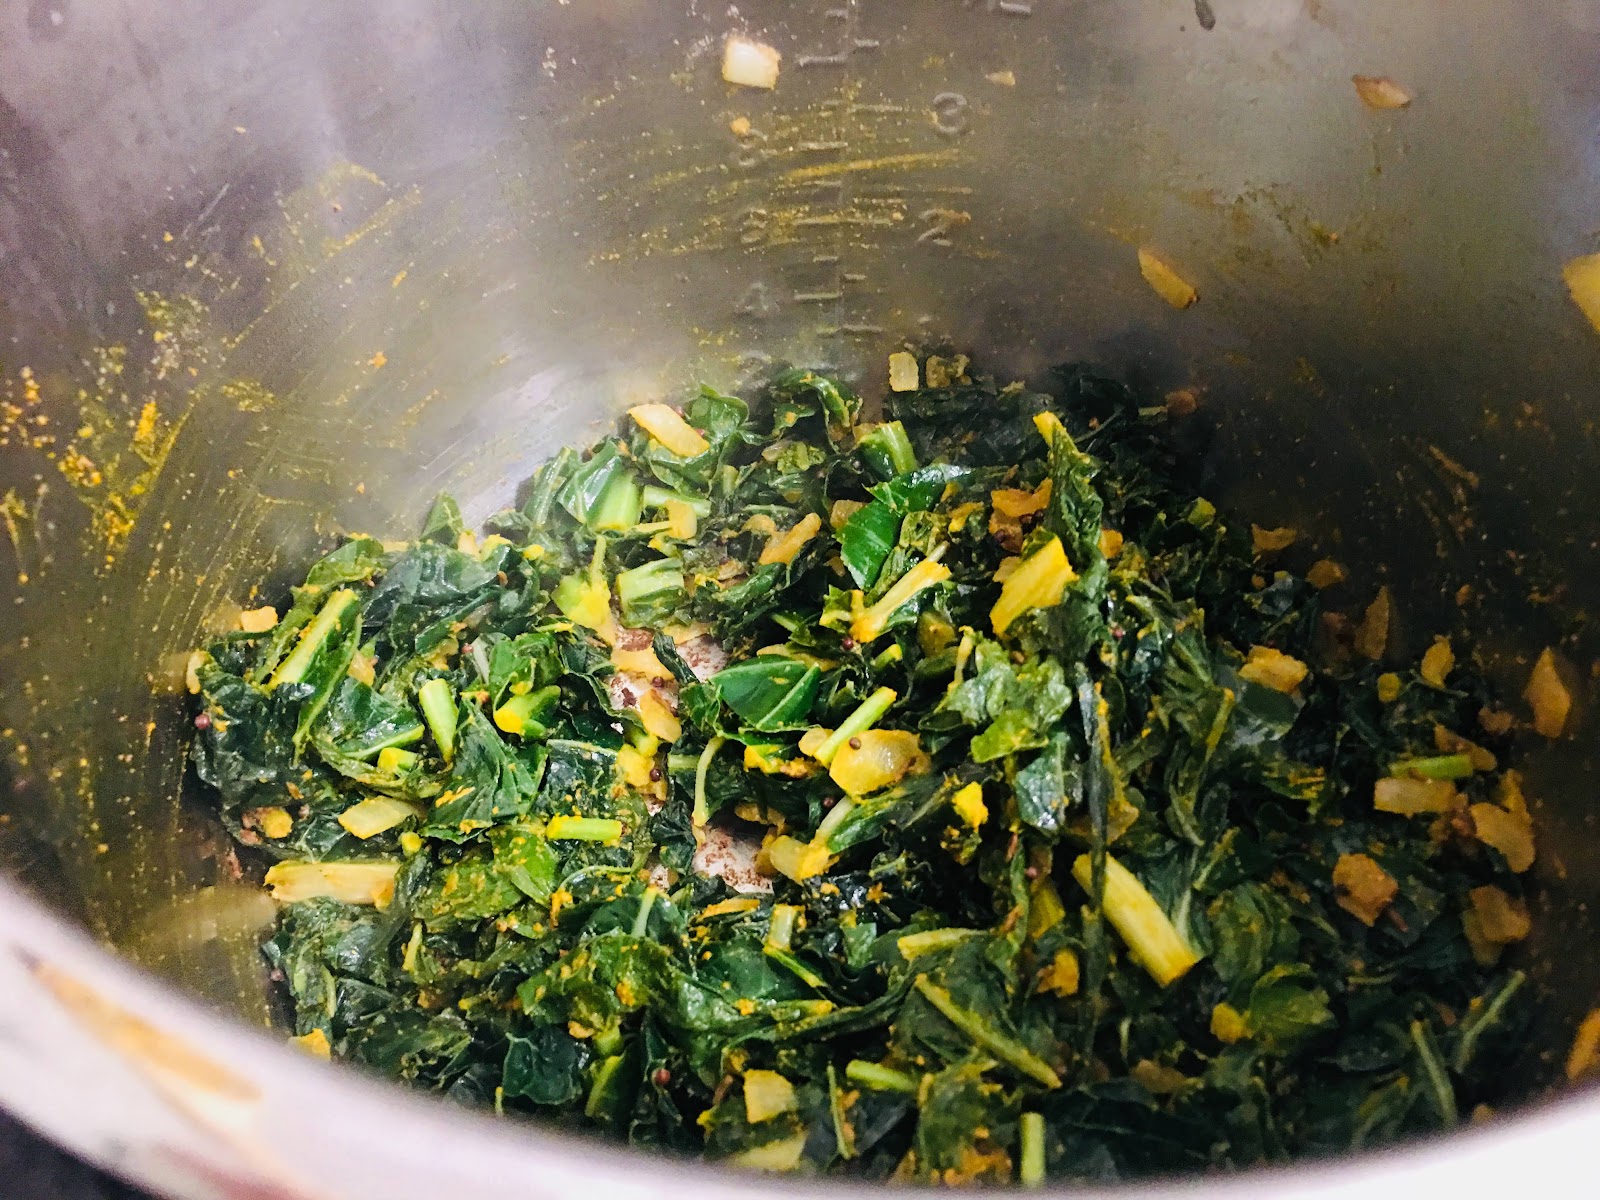
Add the hearty greens and the curry.  Cook till fragrant, about two minutes.


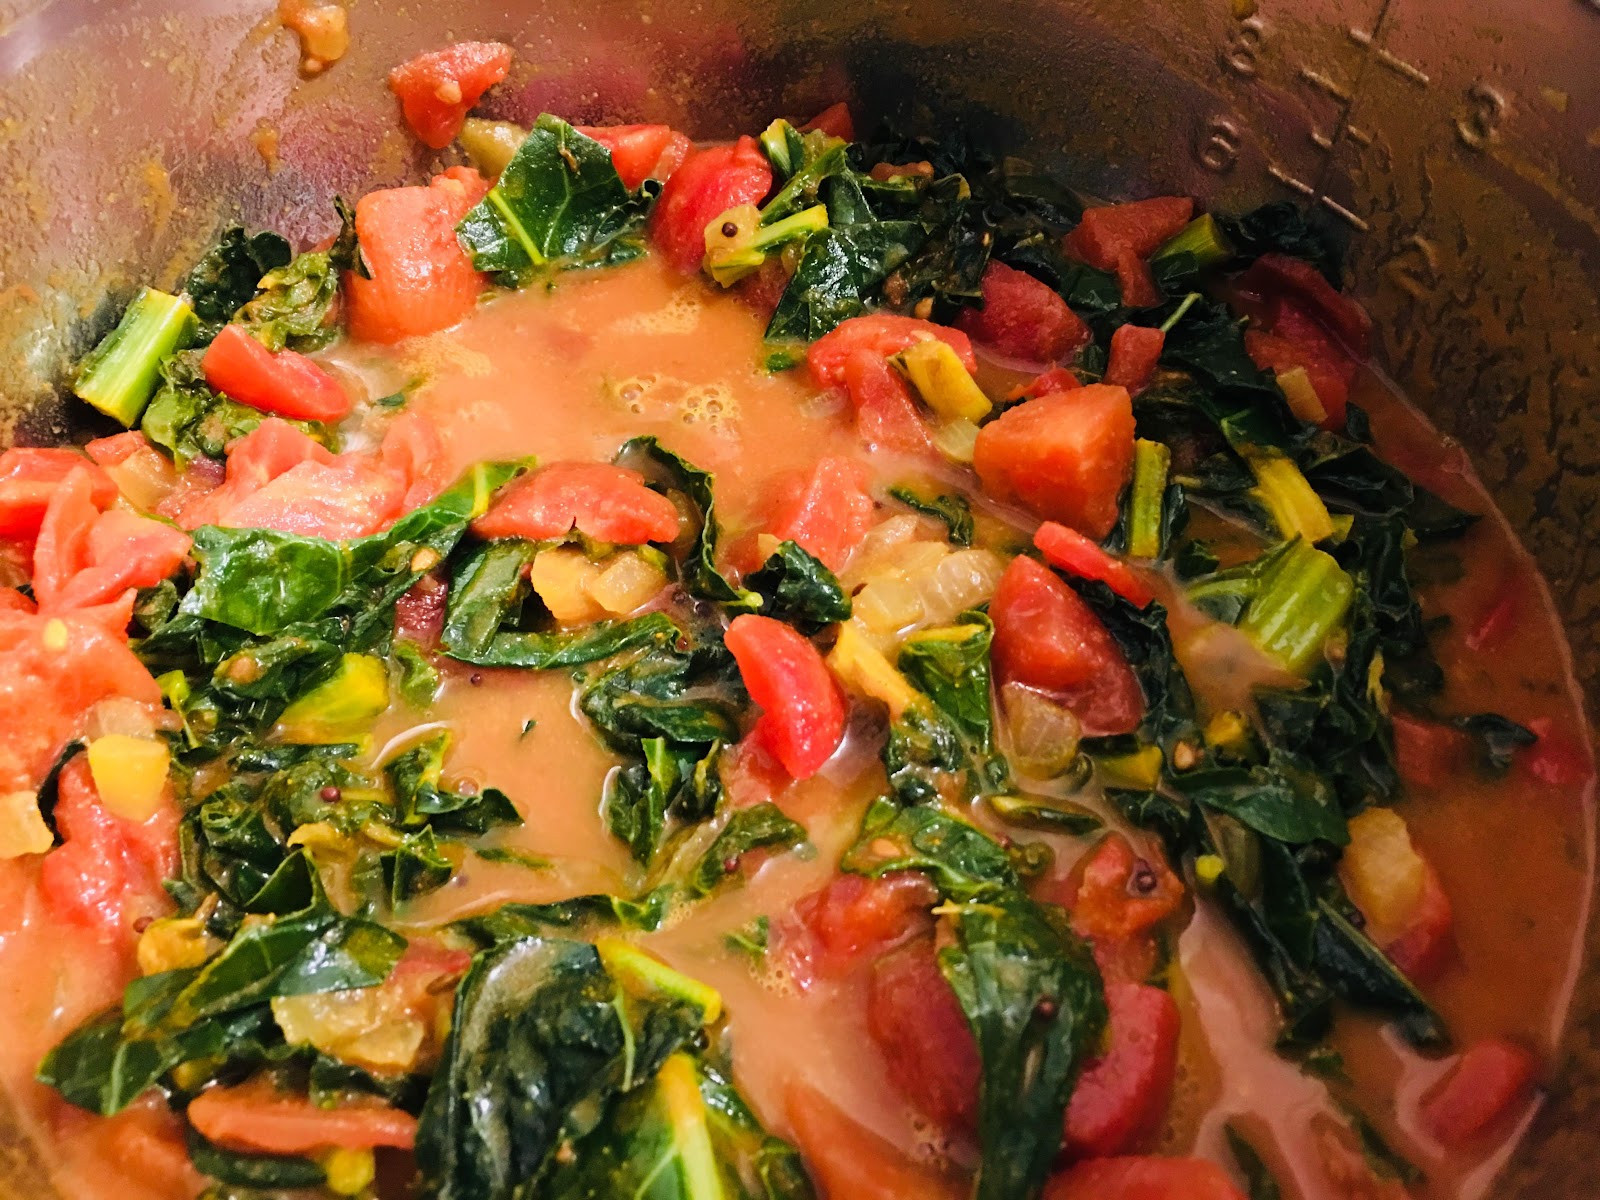
Add the can of tomatoes and bring to boil.


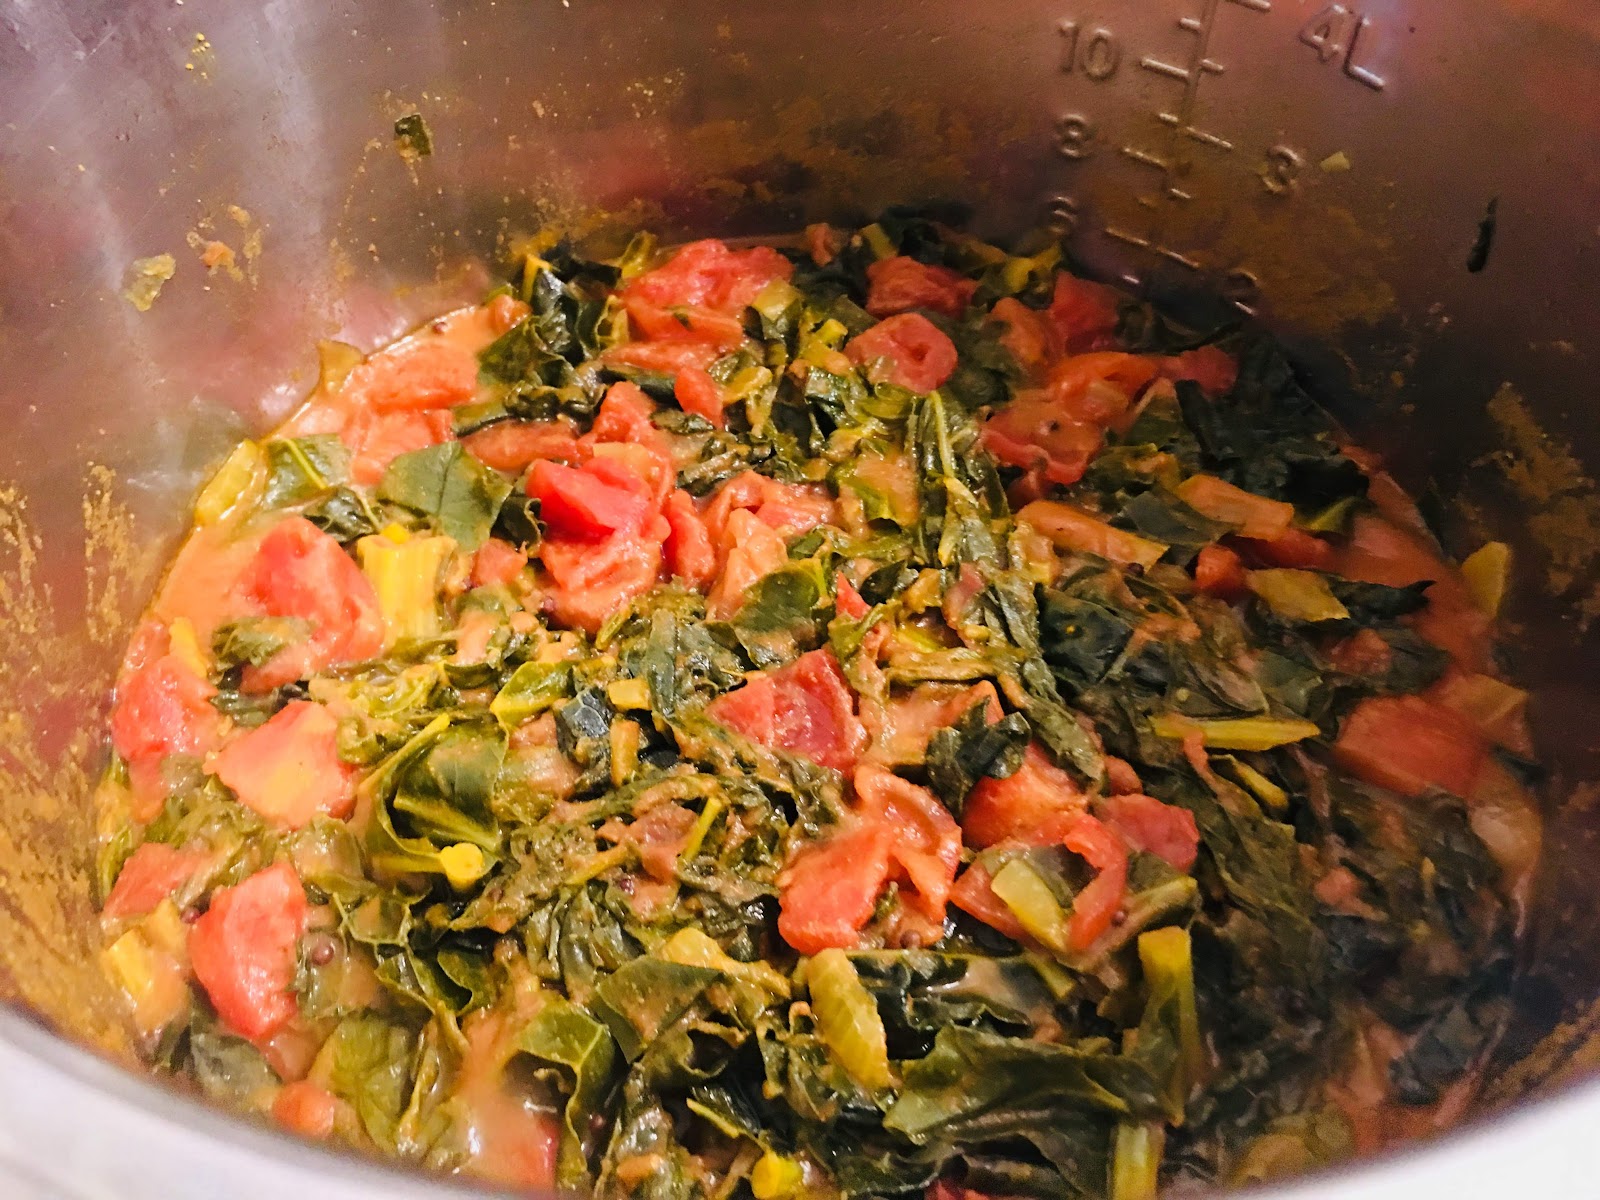
Reduce heat to low and cook, covered, for 30 minutes.  (In an Instant Pot, cook on high pressure for 7 minutes.)


Serve with meat and/or over rice, or eat in a bowl while it’s still warm.  Delicious!

RECIPE: Last-Minute Cooked Hearty Greens with Butter and Lemon

Ingredients:
1 bunch Kale, Collard Greens, Swiss Chard, or any other hearty green
2-4 Tbsp butter, or fat of your choice
Juice of 1 or 2 lemons

To prepare the greens:
Remove the spine from each leaf;
Cut into thin strips;
If using the spines, chop them into small pieces and cook them first before adding the leaves as they take longer to cook.

Heat the butter in a large pan or pot over medium-high heat.  

Once the butter has melted and the pan is hot, add the greens.  

Cook the greens, stirring, for a few minutes to coat in fat and start them wilting.  Then add 2 Tablespoons of water and put a lid on the pan so the greens steam and cook down.  Cook at a lower heat for 5-10 minutes, stirring and checking on it once or twice. You decide if you want chewier kale (shorter cooking time), or falling-apart, tender kale (longer time at a much lower temperature, probably adding more water as it cooks).

When the kale is cooked to your desired tenderness, remove from pan leaving juices behind.  Coat in lemon juice and taste. Add salt and pepper if desired.

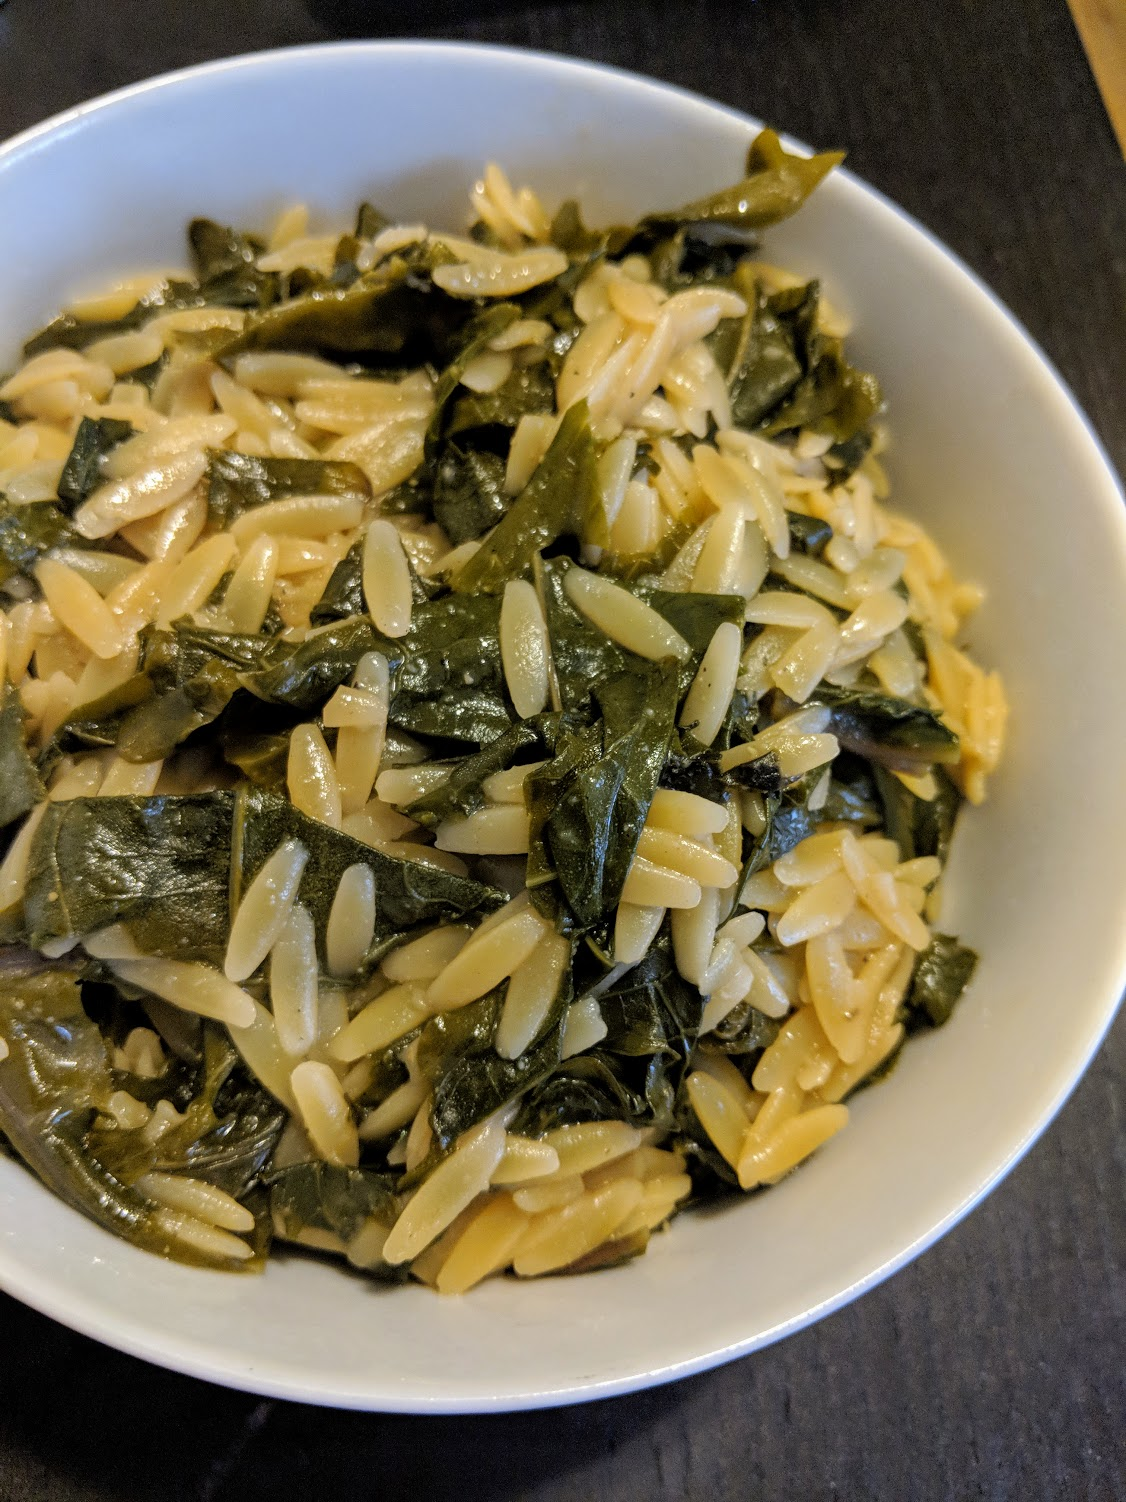
RECIPE: Kale and Orzo Pilaf

This is a great little dish to make with any sturdy green, think collards, kale, chard or even spinach or romaine.

It is a great side to anything and you can always add other vegetables as well. Think asparagus, peas, mushrooms or anything you would like to saute and can keep its shape. Use it as a side, or add leftover roast chicken, roast pork or even salmon and have it for lunch the next day. It is equally good at room temperature.

Ingredients:

- Bunch of kale, or other leafy greens
- ¼ cup orzo, I recommend Rummo as the brand which is very tasty
- 1 tbs olive oil or butter
- 2 tsp “better than bullion” chicken stock, or 1-2 bullion cubes. (you can also use normal chicken stock about 2-3 cups.  OPTIONAL: (1 tsp “better than bouillon” mushroom stock)
- Any other vegetables you would like to add
- 1 tsp garlic powder
- Salt and pepper to taste
- ½ lemon (optional)

Equipment needed
- A deep non-stick skillet such as a cast iron or normal non-stick
Start by chopping the greens in i inch thick pieces. Add the greens to the pan and add 1-2 cups water or stock, if using cubes use ¾ of what you are going to use. Put the heat to medium high. Add garlic powder, some salt and pepper

Cook until greens uncovered for about 15-20 minutes.  There should still be some stock in the pan. Add another 1.5  cups stock and add the orzo.

Put the heat to medium low and cook until the orzo is cooked, add more stock or water if needed (i.e. the orzo is not cooked and there is no more water).

Add whatever other vegetables you want to add at the end.

Monday, June 25, 2018

TIP: The 6 Biggest Salad Mistakes—and How to Avoid Them


Salads are supposed to be light, bright, and full of life—but too often, they hit the table flat, limp, and soggy, with all the good stuff sunk at the bottom of the bowl. There are a number of reasons this happens, and now that spring is upon us, we want our readers to enjoy the crunchiest, most satisfying salads ever. So we asked assistant food editor Claire Saffitz and test kitchen contributor Alfia Muzio to identify the most common mistakes people make when tossing up a salad. (And, honestly, this writer learned a thing or two about salad-making.) Here's their awesome advice, below:

1. Go with What You Know
There's a whole world of greens outside of arugula, mesclun, kale, and romaine. Browse your farmers' market or grocery aisle to find seasonal leafy greens for your salad base, like mâche, dandelion greens, microgreens, baby kale, chicory, and escarole. You'll be amazed how much flavor and texture they'll add. And, dear God, please stay away from iceberg (unless you're making a wedge).

2. Just Wash n' Toss
A soggy salad is a sad sight—so dry those greens! We're big proponents of the salad spinner—one of the few single-purpose kitchen items that are absolutely worth it—but if you don't have one, try this trick: Line a plastic shopping bag with paper towels, throw in your greens, and knot the bag. Then take the bag by the handle and give it a couple good, hard spins in the air. Your greens should come out (mostly) dry. You may proceed.

3. All Greens Need Is Dressing
Nope! Once they're in the bowl, you need to give your greens some undergarments before they get dressed. After you've dried them, season your naked greens with salt and pepper. (This is, incidentally, Bobby Flay's approach, too.) Think of it as another opportunity for flavor—then you won't have to over-season your dressing to compensate. Speaking of seasoning your dressing: Mustard, lemon juice, and olive oil alone do not a dressing make. Like every layer of your salad, it's important to season your dressing to taste.

4. Any Dressing Will Work
There's a lot to consider when it comes to dressing your greens. First, and most important, you need to ask yourself: Did I match my greens to my dressing? Delicate arugula won't hold up to bold, creamy Caesar dressing. Kale overpowers a light balsamic vinaigrette. Like wines, match the bold with the bold, and the light with the light. Second, try to strike the perfect balance of dressing and salad. Overdressing your salad makes it a soggy mess, while underdressing will leave something to be desired. Add dressing little by little—tasting as you go—to make sure you get the perfect amount.

5. Where Are Those Salad Tongs?
The best tool you can use for mixing salad is: Your hands. Bear with us, here: A salad should be light and airy—even if it's made with hearty greens and a creamy dressing—and handled with a gentle touch. Using your hands to toss allows air to get into your mix and incorporates your ingredients in a more distributed way. Here's our preferred way: Drizzle your dressing along the walls of your bowl, then lightly toss your greens until the dressing is evenly distributed. No bruised or crushed leaves here!

6. Toss It All Together!
Sometimes, it's best to leave some ingredients out until the last minute. We like adding in some of the heavy ingredients for the toss—like nuts, seeds, tomatoes, peas, and other bulky add-ins that sink to the bottom—then topping the salad with the rest post-toss. Your guests will get to see everything that's in the salad, and it's easier to get a little bit of everything when there's stuff on top. Also, toss your greens in dressing before adding herbs: their delicate flavor will shine through much more when they're the outermost layer.

TIP: How to Dress Any Salad Green

Anyone can make a decent salad, but it takes some skill and know-how to create a masterpiece in green. It's important, first, to brush up on the basics: Are you sufficiently drying your greens? Are your toppers crushing the delicate leaves? Once you've finished your refresher course, though, there's one big, often-overlooked piece of advice you've got to remember: You've got to pair the right dressing with the right greens.

Think this isn't a big deal? Think again. Just imagine tender spring mix leaves doused with creamy-crumbly blue cheese. They'd be smothered beyond recognition! And what about arugula with a peppercorn-heavy vinaigrette? Your salad would be tragically spicy. This is important stuff, so we called in the pros: Senior food editor Dawn Perry and assistant food editor Claire Saffitz in the Bon Appétit test kitchen gave us the rundown on what dressing is a perfect match for just about every salad your heart could desire.

Arugula
Peppery arugula leaves are best when tempered with a little sweetness—try adding honey or maple to your vinaigrette. And keep in mind that arugula wilts quickly and aggressively, so avoid heavy dressings (skip the cream and Dijon mustard), and use a light hand when tossing everything together. Your best bet for a dressing? Simple salt, pepper, vinegar or lemon juice, and olive oil with just a touch of honey.

Tender Head Lettuce (bibb, red leaf, green leaf, little gem, etc.)
Similar to arugula in texture and tenderness, tender head lettuces also requires a featherlight touch. Unlike arugula, though, the leaves aren't bitter, and don't need any additional sweetness. Just salt, pepper, vinegar/lemon, and olive oil are sufficient.

Endive
Endive's intensely bitter, and it's also hefty, with thick leaves. If there was ever an opportunity to embrace sweetness and fat in a dressing, this is it: Endive can seriously hold its own against a creamy blue cheese dressing.

Frisée
Also bitter, but much rougher and frillier than endive, this chicory is screaming for both fat and salt. A warm bacon vinaigrette is the classic choice—and one we particularly like. Emulsifying your dressing with an egg yolk (or just breaking a poached egg on top of the greens) wouldn't be the worst thing in the world, either.

Grains (farro, wheat berries, barley, etc.)
Grain salads need a good dressing just as much as your favorite garden salad. These chewy, filling dishes can stand up to creamier dressings that make good use of buttermilk, tahini, or mild, soft cheese. "Basically, anything goes here except ranch," says Perry. The aggressive, peppery flavor of ranch will mask the unique flavor of the grains. Be liberal with your use of herbs, and dress the grains just after cooking, while they're still warm—the dressing will be absorbed and incorporated better.

Iceberg
Iceberg has great crunch but not a ton of flavor, so it's up to your dressing to make things sing. We say yes to the classic blue cheese-and-bacon wedge salad, but would definitely not be mad if you whip up an ugly-but-crazy-tasty caramelized-onion dressing. To make a caramelized-onion dressing, think dip (sour cream, a little mayonnaise, some lemon for acidity, caramelized onions with fresh scallion or chive), and thin it with water until it's pourable. Ranch is A-OK, too, and in fact, the only time we advocate not using a creamy dressing with iceberg is when it's chopped up finely and dressed Italian pizza joint-style, with plenty of oregano and peperoncini.

Kale
Kale's hefty. It's important to slice it thinly so you don't suffer from jaw fatigue before the salad's half-eaten. Incorporating a good amount of acid to your dressing—think plenty of lemon juice—will further break down the cellular structure of the leaves, making them easier to eat and digest. Don't drown the greens, though; nobody likes a soggy salad. Here's more on how to make the perfect kale salad.

Radicchio
This chicory is bitter, like endive, but a little more tender. It can handle a dressing with Dijon or an egg yolk, but fares best without a heavy dumping of cream or mayonnaise. Don't forget the sweetener.

Romaine
"The world is your oyster with Romaine," says Perry. It's crunchy like iceberg, so creamy dressings are a go, but it also fares nicely with a simple vinaigrette. Feel free to experiment.

Spinach
Be wary of the wilt with spinach salads—these leaves succumb to very acidic and creamy dressings quickly. Sturdy, mature leaves can handle a little creaminess or heat (again, we're fans of that warm bacon dressing), but baby spinach needs no more than olive oil, salt, pepper, and a squeeze of lemon.

Spring/Summer Mix
These tender leaves are pillow-soft. Keep things simple with the most basic vinaigrette possible, letting the sweetness of the lettuce shine through.

Swiss Chard
Chard is thin but tough. To help tenderize the leaves, tear them into bite-size pieces and dress them with something sweet and acidic, like this tomato vinaigrette. Its flavor runs toward earthy (especially the stems), so think light and bright when dressing.

Watercress
Watercress looks delicate but its flavor is bossy—peppery and fresh, with some bite. Embrace fat, sweetness, and a medium-level creaminess (hello, buttermilk).

Tuesday, September 5, 2017

RECIPE: Crustless Spinach Quiche


  • 8 eggs or 2 small cartons of egg beaters
  • 1/2 container of low fat whipped cottage cheese or fat free ricotta (about 8 oz. total)
  • 4 oz. low fat cheddar cheese, shredded
  • 4 oz. Cabot chipotle cheddar cheese or pepper jack, shredded
  • 1 large red bell pepper, chopped
  • 1 medium yellow Spanish onion, chopped
  • 1 bunch of spinach, stems removed and chopped (or 1 bag of pre-washed baby spinach, chopped); note: you can also use chard or another leafy green
  • 1 Tbs. olive oil (or cooking spray)
  • Preheat oven to 350 degrees. Coat a large ceramic fluted quiche dish or glass pie dish with cooking spray.

  • Heat olive oil (or cooking spray) in a large nonstick skillet over medium-high heat. Sauté onion until translucent. Reduce heat to medium and add red peppers. Once peppers have softened, add chopped spinach. Sauté until spinach is completely wilted and most of the moisture has cooked off. Cool vegetables slightly.

  • In a large bowl, whisk together egg beaters, cottage cheese and shredded cheeses. Either mix the cooled vegetables into egg mixture or if vegetables are still very warm pour egg mixture over warm vegetables in bottom of quiche dish to prevent hot vegetables from cooking the eggs.

  • Place quiche in center of oven and bake for 45 minutes, or until cheese is bubbling, center is firm and top is golden brown. Cool slightly before cutting into eight wedges and serve warm.

Thursday, July 27, 2017

RECIPE: Rainbow Chard Strata from Much Ado About Stuffing


Yield: 4-6 servings

1 teaspoon olive oil

1/2 sweet onion, chopped

1/2 bunch Swiss chard

salt

pepper

2-1/2 cups shredded cheese

4 eggs

1 cup skim milk

Preheat oven to 375 degrees. Wash and dry Swiss chard. Cut off the very ends of the stems. Roughly chop (leaving stems intact) the chard.  In a sauté or frying pan add onion and chard to the oil and sauté until stems are tender (do not overcook). Salt and pepper to taste. Grate cheese to make 2 1/2 cups. Use whatever varieties you want/have. Be creative! I used Swiss, Cheddar, and Parmesan. Whisk eggs. Add milk and cheese. Fold in the onion/chard mixture. Season with salt and pepper to taste, if necessary. Pour into a Pyrex rectangular baking dish that has been sprayed with nonstick cooking spray. Bake for 35-45 minutes or until golden brown and no liquid seeps out when knife is inserted. Serve with crusty bread and a salad.

Monday, September 26, 2016

Green Juice

Green juice

1 medium bunch of dark green vegetables – Kale, Chard, Collards, Leaf Lettuce or combination
6-8 ribs of Celery
2 large Cucumbers
½ bulb of Fennel
1-2 Green Apples, depending on preference of sweetness
½ bunch Italian Parsley
1 inch piece of Ginger, skin on scrubbed
1 small lemon, skin peeled with as much pith left on as possible

1 lime, skin peeled with as much pith left on as possible

1.      Fill sink, rinse vegetables thoroughly and soak until ready to juice.
2.      Roll parsley into dark green vegetables and juice first, followed by celery and fennel. If you do not have any more room in juicer at this point, pour into container and remove pulp from juicer. Set pulp aside.
3.      Juice cucumbers, apples, lemon, lime and ginger. Pour into container to combine.

Alternate:

Use tops of vegetables such as carrots, beats, and radishes. Note that these greens may make the juice very bitter, however, this can often be balanced out with more apple or lemon juice.

Add ½ bunch of mint when juicing the parsley. Remove tough stems.

Substitute or combine apples with pineapple or peeled kiwis for a tangier version.
NOTE:
Makes approximately 6-8 cups of green juice. The vitamins and chlorophyll in green juice begins to degrade only 15 minutes after it is juiced, unless you have a cold-press juicer. I find it hard to juice every day, however, so I have found that freezing it in mason jars immediately is a good way to store green juice for a few days. However, even in the freezer, green juice will not last for more than about a week before degrading in quality.


\

Sunday, June 19, 2016

Rainbow Swiss Chard with Figs

Rainbow Swiss Chard with Figs

Serves 2

What You Need:

2 pounds rainbow chard (or other variety of Swiss chard), ends trimmed
2 tablespoons olive oil
3 garlic cloves, finely minced
1/2 cup coarsely chopped dried figs
1/4 cup pine nuts
Salt and freshly ground black pepper

What You Do:

1. Coarsely chop chard and add it to a pot of boiling salted water. Cook until tender, about 5 minutes. Drain well and set aside.
2. In a large skillet over medium heat, heat olive oil. Add garlic and cook until fragrant, about 30 seconds. Add figs and pine nuts and cook until the pine nuts are lightly toasted, about 1 minute.
3. Stir in reserved chard and season with salt and pepper to taste. Cook until hot, stirring occasionally.

Friday, July 10, 2015

RECIPE: Butter-Braised Radishes with Greens

ACTIVE: 25 MIN
TOTAL TIME: 40 MIN 
SERVINGS: 6
Difficulty Level: Easy
 
Ingredients:
1 cup vegetable stock or water
1 tablespoon unsalted butter
2 pounds radishes quartered (you can also add the radish greens if you like)
Salt and freshly ground pepper
1/2 ounce sorrel leaves or other greens, stemmed and thickly sliced (1 packed cup)

In a large skillet, bring the vegetable stock and butter to a boil over moderate heat. Add the radishes and cook, stirring occasionally, until they are crisp-tender and the liquid has thickened slightly, about 15 minutes. Season with salt and pepper and transfer to a shallow bowl. Scatter the greens over the top and serve.

Saturday, June 6, 2015

RECIPE: Swiss chard tips and tricks

To store and prep your chard:

•Remove any elastic bands and store chard in a bag in your fridge.  Chard’s length makes it awkward to store (sometimes the fridge door shelves work well). If space is an issue, you can separate the leaves from the stalks before storing.

•Keep chard away from the coldest spots in your fridge -- when the leaves get too cold, they turn black and wither.

•To clean, soak the chard in a large bowl of cold water for at least five minutes to allow the dirt to settle. If you are going to eat it raw, spin it dry; otherwise, just give it a shake or allow it to drain in a colander. A little water will help the chard steam a bit when you cook it.

•Because each cooks at a different rate, you'll need to separate the stems and leaves: With one hand, grasp the leaves where they meet the stem, grasp the stem with the other hand, and gently pull the stem away from the leaves.

•Chard will keep well in the fridge for about a week. Revive tired-looking leaves in a bowl of cold water with a splash of vinegar. After 20 minutes or so, the leaves should perk up.

•Raw chard can also be added directly to soups and stews or thrown in a quiche: For a quiche baked in standard 9- or 10-inch pie plate or tart pan, coarsely chop a cup of chard and add it directly to the custard.

•Chard is delicious simply sautéed with olive oil, garlic, and crushed red pepper flakes. Sauté sliced onions with chopped chard stems until tender, add garlic and pepper flakes, then add chopped greens and a pinch of salt to the pan. Cover the pan for a few minutes to allow the leaves to wilt, then uncover and allow any liquid to cook off. Finish with a squeeze of lemon or splash of vinegar. This makes a nice side dish, or can be added to pasta, lasagna, strata, etc. To spruce up sautéed chard, add sautéed apples, toasted pine nuts, and raisins, Catalan-style.

RECIPE: General Vegetable Storage Tip

When you have whole vegetables, remove the stems and leaves before storing. They keep longer when stored separately. Beet and turnip greens are great sautéed. Celery and radish leaves are great in salads. Celery leaves also make a delicious pesto! Cilantro stems and roots make great broths and stir fries in Thai and Vietnamese recipes.

Thursday, October 2, 2014

RECIPE: Savory Apple Pie

This is the ultimate picnic dish.  It can be made ahead, eaten warm or cold. Versions exist in Italy and Nice, and whether you make it with chard or spinach or kale, it is always delicious.  If the thought of an apple, veggie, cheese, nut pie sounds weird to you, do yourself a favor and try it at least once. Trust me!

Difficulty Level: Advanced

Pastry:
3 cups unbleached flour
2 eggs, beaten
1 cup unsalted butter, at room temperature
1/2 cup sugar
scant 1 Tbs salt

By hand: dump everything in a bowl and with the tips of your fingers, start working everything into each other until it all comes together into a shaggy ball

By food processor: pulse all the ingredients together until they come together into a shaggy ball.

Shape into a ball, cover with a clean cloth or plastic wrap, and leave at room temperature for 2 hours

Filling:
4 large apples (nothing too mushy: Golden Delicious, Fuji, Granny Smiths, Honeycrisps, all work well)
3 Tbs raisins
2 Tbs dark rum (optional. You can use hot water too)
1 Cup cooked and thoroughly drained chopped greens (spinach, swiss chard, and kale all work well. Make sure to really cook them though. Totally wilted and very tender).
4 Tbs pine nuts
1/2 cup confectioner's sugar
1/4 to 1/2 lb of a mild cheese, diced (young Gouda, mild Cheddar, mozzarella all work well)
2 beaten eggs
grated zest of 1 lemon
2 Tbs of red currant jelly, room temperature and stirred with a fork to loosed it up a bit
3 additional Tbs confectioner's sugar

Preheat oven to 375 and butter a 9 inch springform pan or a 10 inch pie plate. Set aside.

Peel the apples and cut 2 into small cubes.  Place raisins and rum (or water) in a small pan and bring to a boil. Cook 2 minutes.

In a large bowl, mix the greens, raisins and their liquid, apple cubes, pine nuts, sugar, cheese, eggs, and lemon zest. Slice the remaining 2 apples, set aside.

Divide the pastry with one piece being about a third of the size of the larger piece.  On a lightly floured surface, roll out the dough as thin as you can into two circles.

Place the larger circle in the prepared mold, covering the bottom and coming up the sides. Prick all over with a fork. Spread the currant jelly all over the bottom. Add the filling. Cover with the reserved apple slices (a concentric circle pattern looks nice and works well) and then with the remaining dough. Pinch the bottom and top crust edges together and trim off any excess. Prick the top crust with a fork and bake for 30 - 40 minutes until golden. Remove from oven, place on a rack to cool, and just before serving, dust with remaining 3 Tbs confectioner's sugar

Thursday, July 3, 2014

RECIPE: Saag Paneer

Difficulty level: Advanced

Usually, when this dish is ordered in restaurants, it is made with spinach, but it can also be made with a variety of dark leafy greens, including kale, collards, beet greens, and swiss chard.  If using greens with a tough stalk like collards or chard, make sure to strip the leaves and only sautee the greens, discarding the stems.

Ingredients:
1 1/2 pounds dark leafy greens, finely chopped
2 Tbs ghee (clarified butter), or vegetable oil
8 oz of paneer or halloumi cheese, cut into 1 in. cubes
1 small onion, finely chopped
3 garlic cloves, finely chopped
1 in. piece of peeled ginger (use the edge of the bowl of a spoon to scrape away ginger skin while getting into those nooks and crannies), finely chopped
2 tsp garam masala spice
1/4 tsp turmeric
kosher salt
1/2 cup heavy cream
1/8 tsp grated nutmeg

1. Heat a large saute pan over med-low heat.  Add the ghee or oil.

2. Toss in cheese cubes.  Fry while turning so all sides turn a nice golden brown.  Set aside on a plate.

3. When oil is hot, but not smoking, add onion and sautee, stirring occasionally, for a few minutes until it starts to get soft.

4. Add the garlic, ginger, garam masala, turmeric, and a pinch of salt and sautee, stirring, until fragrant, a minute or two more.

5. Turn heat up to medium and add all your greens.  Cover and cook down, stirring occasionally until greens are completely wilted, about 5 minutes more.

6. Uncover and add heavy cream.  Simmer a few more minutes until mixture is a bit thickened.

7. Add toasted cheese cubes, stir, taste for salt and spice preference, stirring in some more garam masala if desired.

8. Serve with a pinch of grated nutmeg sprinkled over the top.

Wednesday, July 24, 2013

RECIPE: Greens Gratin

Difficulty level: EASY

Ingredients:

2 cups chard, sauteed in olive oil, salted

1 bunch of spring onions, cut up and sauteed in olive oil

1 cup bechamel sauce (1 Tbsp butter, 1 Tbsp flour, 1 cup milk, 1 Tablespoon grated Parmesan)

Directions:

-cook the greens and onions separately

-melt butter and add flour heating mixture until mixed

-add the milk and stir over medium heat for 20-25 minutes

-add parmesan

-mix sauce with greens and onions and put in a small oven proof baking dish

-sprinkle some more parmesan on top

-bake at 400 degrees for about 15-20 minutes or until it is bubbling

Friday, July 5, 2013

RECIPE: General Greens Tip

Easy Tip: 

Sautee your dark greens -- kale, collards, escarole -- at the beginning of the week and use it all week for quick and easy weeknight meals, like a whole wheat pizza, frittata, or panini.


Submitted by Erin Hotchkiss

Monday, October 1, 2012

RECIPE: What to do with Homemade Bread Crumbs

[a tip from Ann] 

Everytime you have some leftover good bread, slice and lightly toast the leftovers in your toaster, oven or toaster oven. Real cooks recommend removing the crusts; I don't bother. (Honestly, I don't even toast it first. I just grind up the old bread.)

Pulse in food processor until the bread becomes crumbs. I store them in a ziploc bag in my freezer. These have many uses: you can saute them in a pan with a little oil and add any seasonings of your choice such as garlic, herbs, or a bit of grated cheese. Use them to top roasted vegetables (broccoli, asparagus), sauteed greens in garlic, gratins, or pasta dishes (especially good when made with garlic and parmesan and used to top pasta with pesto). You can also use them for coating meat or fish for sauteing or frying.

Being a midwestern cheapskate I had stored up bags of these in the freezer and they were driving my husband crazy. Once we knew we were moving this summer I started trying to use everything up and started putting bread crumbs on everything and now we are out! They taste great and the little bit of crunchy texture is a great complement to so many dishes.